MDN 對 :has() 選擇器 的解釋是這樣的:
CSS 函數式偽類 :has() 表示一個元素,如果作為參數傳遞的任何相對選擇器在錨定到該元素時,至少匹配一個元素。這個偽類通過把可容錯相對選擇器列表作為參數,提供了一種針對引用元素選擇父元素或者先前的兄弟元素的方法。
下面一起來感受下 :has() 選擇器的強大之處吧。
:has() 選擇器選擇父元素和前面的兄弟元素
鄰接兄弟選擇器(+)用來選中恰好處于另一個在繼承關系上同級的元素旁邊的物件。例如,選中所有緊隨<p>元素之后的<img>元素:
p + img
通用兄弟關系選擇器(~)用來選中一個元素后面的所有兄弟元素。例如,選中<p>元素之后的所有的<img>元素:
p ~ img
css 并沒有提供直接選擇父元素或者前面的兄弟元素的選擇器,但 :has() 可以做到這點。
1、比如選擇所有包含 <p>元素的父元素:
:has(p)
2、選擇直接后代元素包含 <p>元素的父元素:
:has(> p)
3、選擇直接后代元素包含 <p>元素的父級標簽名是 div父元素:
div:has(> p)
4、選擇 <p>元素的相鄰的前一個標簽名是 div的兄弟元素:
div:has(+ p)
5、選擇 <p>元素的前面所有標簽名是 div的兄弟元素:
div:has(~ p)
:has() 選擇器中的 且 和 或
在 :has() 選擇器中表示 且 和 或 很簡單,例如:
p:has(.a):has(.b) 表示選擇同時包含子元素 a 和 子元素 b 的 元素 p
p:has(.a, .b) 表示選擇包含子元素 a 或者包含子元素 b 的 元素 p
:has() 選擇器選擇一個范圍內的元素
現在有如下元素
<div>
  <h2>標題開始(選擇第一行字體為綠色,最后一行字體為紅色)</h2>
  <p>h2中間第一行</p>
  <h4>h2中間第二行</h4>
  <h5>h2中間最后一行</h5>
  <h2>標題結束</h2>
</div>
要求選擇第一行字體為綠色,最后一行字體為紅色。需要注意的是,中間元素可以是任意的。

使用 :has() 實現上面效果,可以這么做
h2 + :has(~ h2){
color:green;
}
h2 ~ :has(+ h2){
color:red;
}
h2 + :has(~ h2) 表示選擇緊跟著 h2 的并且后面還有 h2 元素的兄弟元素。也就選擇到了 h2 范圍內的第一個元素。
h2 ~ :has(+ h2) 表示選擇 h2 后面的兄弟元素,并且該兄弟元素的下一個兄弟元素是 h2,也就選擇到了 h2 范圍內最后一個元素
那如果要選擇中間所有元素呢,可以這樣做
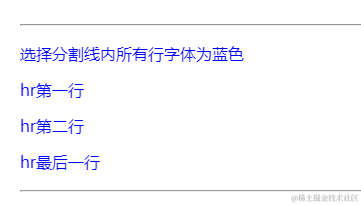
hr ~ :has(~ hr){
color:blue;
}
:has() 選擇器的應用
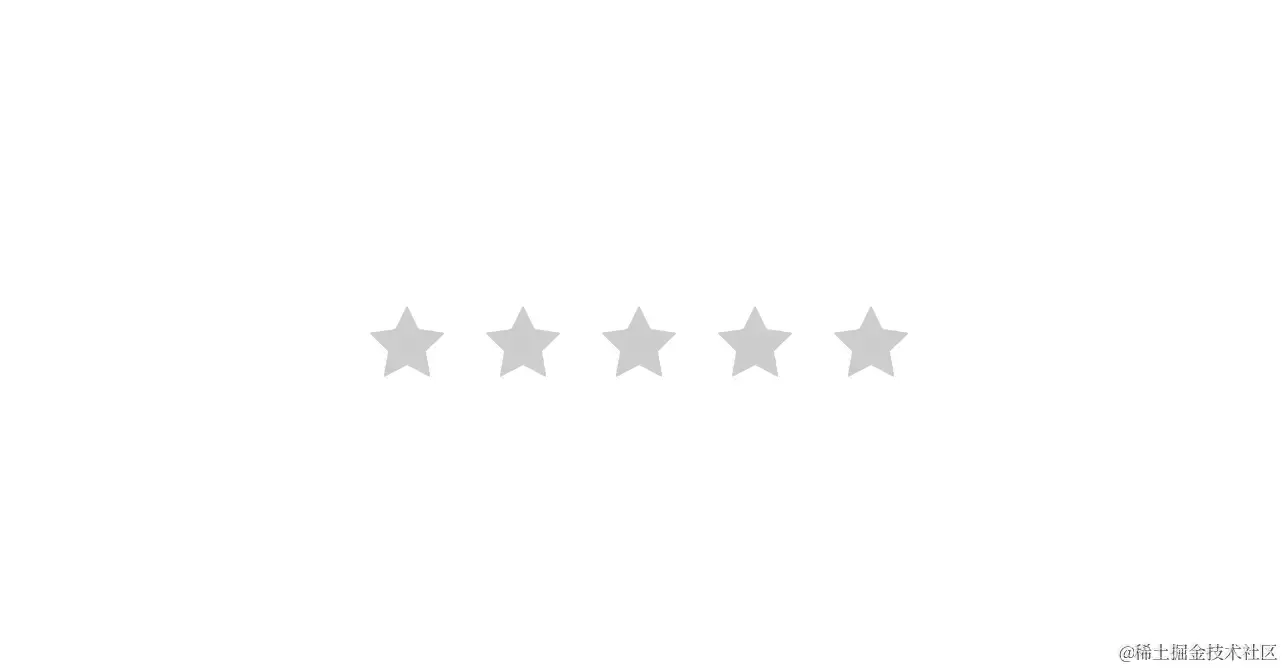
1、CSS :has() 選擇器之星級評分
關于星級評分,之前寫過一篇文章分享過 三種方式使用純 CSS 實現星級評分。
這里介紹下使用 :has() 選擇器 + :not() 選擇器 實現星級評分的方式。
星級評分效果包括鼠標滑入和點擊,滑入或點擊到第幾顆星的位置,該位置之前的星高亮,之后的星不高亮或者有高亮的則取消高亮;
html 結構
<div>
  <input type="radio" name="radio" id="radio1">
  <label for="radio1">
    <svg xmlns="http://www.w3.org/2000/svg" viewBox="0 0 1024 1024" style=""><path fill="currentColor" d="M283.84 867.84 512 747.776l228.16 119.936a6.4 6.4 0 0 0 9.28-6.72l-43.52-254.08 184.512-179.904a6.4 6.4 0 0 0-3.52-10.88l-255.104-37.12L517.76 147.904a6.4 6.4 0 0 0-11.52 0L392.192 379.072l-255.104 37.12a6.4 6.4 0 0 0-3.52 10.88L318.08 606.976l-43.584 254.08a6.4 6.4 0 0 0 9.28 6.72z"></path></svg>
  </label>
  <input type="radio" name="radio" id="radio2">
  <label for="radio2">
    <svg xmlns="http://www.w3.org/2000/svg" viewBox="0 0 1024 1024" style=""><path fill="currentColor" d="M283.84 867.84 512 747.776l228.16 119.936a6.4 6.4 0 0 0 9.28-6.72l-43.52-254.08 184.512-179.904a6.4 6.4 0 0 0-3.52-10.88l-255.104-37.12L517.76 147.904a6.4 6.4 0 0 0-11.52 0L392.192 379.072l-255.104 37.12a6.4 6.4 0 0 0-3.52 10.88L318.08 606.976l-43.584 254.08a6.4 6.4 0 0 0 9.28 6.72z"></path></svg>
  </label>
  <input type="radio" name="radio" id="radio3">
  <label for="radio3">
    <svg xmlns="http://www.w3.org/2000/svg" viewBox="0 0 1024 1024" style=""><path fill="currentColor" d="M283.84 867.84 512 747.776l228.16 119.936a6.4 6.4 0 0 0 9.28-6.72l-43.52-254.08 184.512-179.904a6.4 6.4 0 0 0-3.52-10.88l-255.104-37.12L517.76 147.904a6.4 6.4 0 0 0-11.52 0L392.192 379.072l-255.104 37.12a6.4 6.4 0 0 0-3.52 10.88L318.08 606.976l-43.584 254.08a6.4 6.4 0 0 0 9.28 6.72z"></path></svg>
  </label>
  <input type="radio" name="radio" id="radio4">
  <label for="radio4">
    <svg xmlns="http://www.w3.org/2000/svg" viewBox="0 0 1024 1024" style=""><path fill="currentColor" d="M283.84 867.84 512 747.776l228.16 119.936a6.4 6.4 0 0 0 9.28-6.72l-43.52-254.08 184.512-179.904a6.4 6.4 0 0 0-3.52-10.88l-255.104-37.12L517.76 147.904a6.4 6.4 0 0 0-11.52 0L392.192 379.072l-255.104 37.12a6.4 6.4 0 0 0-3.52 10.88L318.08 606.976l-43.584 254.08a6.4 6.4 0 0 0 9.28 6.72z"></path></svg>
  </label>
  <input type="radio" name="radio" id="radio5">
  <label for="radio5">
    <svg xmlns="http://www.w3.org/2000/svg" viewBox="0 0 1024 1024" style=""><path fill="currentColor" d="M283.84 867.84 512 747.776l228.16 119.936a6.4 6.4 0 0 0 9.28-6.72l-43.52-254.08 184.512-179.904a6.4 6.4 0 0 0-3.52-10.88l-255.104-37.12L517.76 147.904a6.4 6.4 0 0 0-11.52 0L392.192 379.072l-255.104 37.12a6.4 6.4 0 0 0-3.52 10.88L318.08 606.976l-43.584 254.08a6.4 6.4 0 0 0 9.28 6.72z"></path></svg>
  </label>
</div>
為了使星星有點擊效果,利用 radio + label 的方式實現點擊效果;label 代表星星。
當點擊星星時,高亮當前星星
input:checked + label{
    color:gold;
}
當鼠標移入星星時,高亮當前星星,并且該位置之后的星星取消高亮;
label:hover{
  color:gold;
  & ~ label{
    color:#ccc!important;
  }
}
讓當前位置之前的所有星星也高亮,可以利用 :not ,排除掉當前位置和當前位置之后的星星。
label:not(:hover,:hover ~ *){
  color:gold;
}
并且只有鼠標滑入時添加這些效果。
div:has(label:hover) label:not(:hover,:hover ~ *){
  color:gold;
}
同樣,當點擊星星時,點亮當前選擇的之前所有的星星也如此
div:has(input:checked) label:not(input:checked ~ label){
  color:gold;
}
完整示例
2、CSS :not 和 :has() 模擬 :only-of-type
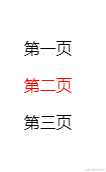
有下面的 html 結構
<div>
  <p>第一頁</p>
  <p class="this">第二頁</p>
  <p>第三頁</p>
  <p>第四頁</p>
</div>
要選擇類名為 this 的元素,并設置顏色為紅色,使用 .this{color:red;} 可以輕松做到。
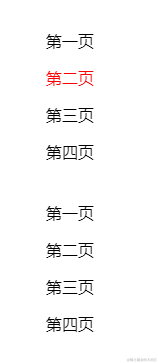
如果現在有兩個 div 元素塊
<div>
  <p>第一頁</p>
  <p class="this">第二頁</p>
  <p>第三頁</p>
  <p>第四頁</p>
</div>
<div>
  <p>第一頁</p>
  <p class="this">第二頁</p>
  <p class="this">第三頁</p>
  <p>第四頁</p>
</div>
現要求選擇 div 的子元素中只有含有一個類名為 this 的元素(也就是第一個 div 元素塊),并且設置其顏色為紅色,該怎么做呢?
:only-of-type 代表了任意一個元素,這個元素沒有其他相同類型的兄弟元素。
但 :only-of-type 判斷是否有相同類型的依據是標簽名,而不是類名。所以并不能達到想要的效果。
//這種寫法是無效的,無法判斷元素有沒有其他相同的類名。
.this:only-of-type {
    color:red;
}
//這種寫法是有效的,但判斷的是沒有相同的 p 的元素,顯然無法滿足上面的要求,但能匹配下面 ul 中的 p
p:only-of-type {
    color:red;
}
<ul>
  <li>第一頁</li>
  <li class="this">第二頁</li>
  <li class="this">第三頁</li>
  <p>第四頁</p>
</ul>
而 :has 能做到,要選擇前后沒有相同類名的元素 ,也就是排除前后的 .this 。
排除前面的 .this
.this:not(.this ~)
排除后面的 .this,
.this:not(:has(~ .this))
兩個做并集,也就選擇到了唯一的 .this
.this:not(:has(~ .this)):not(.this ~ *){
  color:red;
}
完整示例
利用 :has() 可以選擇到前面的兄弟元素的特點,還能做出下面的動畫效果

當鼠標滑入到一個元素時,該元素放大,該元素的前一個元素和后一個元素縮小,除了這三個元素之外的其他元素縮的更小并且有一定透明度;
html 結構如下
<div class="box">
  <div class="son">喬丹</div>
  <div class="son">科比</div>
  <div class="son">詹姆斯</div>
  <div class="son">奧尼爾</div>
  <div class="son">鄧肯</div>
  <div class="son">卡特</div>
  <div class="son">麥迪</div>
  <div class="son">艾弗森</div>
  <div class="son">庫里</div>
  <div class="son">杜蘭特</div>
</div>
關鍵 css 代碼
.son{
    ...
    ...
    ...
    &:hover{
      background-color:#67c23a;
      transform:scale(1.4);
      & + .son{
        transform:scale(1.1); // 后一個相鄰的兄弟元素
      }
    }
  }
讓前一個元素也縮放為原來的 1.1
// 選擇存在 后一個相鄰的被hover的兄弟元素 的元素
.son:has( + .son:hover){
  transform:scale(1.2);
}
然后對這三個元素之外的其他元素縮放為原來的 0.8
.box:has(.son:hover) .son:not(:hover, :has(+ :hover), .son:hover + *) {
  transform:scale(0.8);
  opacity:0.7;
}
.box:has(.son:hover) 表示選擇子元素 son 被 hover 時的 .box
.son:not(:hover, :has(+ :hover), .son:hover + *) 表示排除 son 元素里面被 hover 的元素,被 hover 的元素的前一個鄰接的兄弟元素,被 hover 的元素的后一個鄰接的兄弟元素;
完整示例
4、CSS :has() 選擇器之單選題
這是個有趣的應用,當選擇的是錯誤的選項時,選擇題的標題和當前選擇項標紅。并且會給正確的選項添加動畫效果提示用戶這才是正確選項。
這里用 data-correct="false" 表示錯誤的選項,data-correct="true" 表示正確的選項。
<input type="radio" name="option" data-correct="false" id="option1" />
<label for="option1">Responsive design</label>
<input type="radio" name="option" data-correct="true" id="option2" />
<label for="option2">Responsive design</label>
<input type="radio" name="option" data-correct="false" id="option3" />
<label for="option3">Responsive design</label>
選擇錯誤選項時,標紅當前選項。選擇正確選項時標綠當前選項。
.question{
  --correct: #5ed235; // 正確選項的顏色
  --wrong: #f83d56; // 錯誤選項的顏色
  --wrong-bg: rgba(248 ,61, 86,0.8);
  --correct-bg: rgb(94 ,210, 53,0.8);
}
input[data-correct="false"]:checked + label{
  color: #fff;
  background-color: var(--wrong);
  border-color: var(--wrong);
}
input[data-correct="true"]:checked + label{
  color: #fff;
  background-color: var(--correct);
  border-color: var(--correct);
}
選擇錯誤選項時,標紅標題; 這里用 :has 選擇器獲取子元素中有錯誤選項選中時。
.question:has(input[data-correct="false"]:checked) {
  .questionHeader {
    box-shadow: inset 0 7px 0 0 var(--wrong);
    background-color: var(--wrong-bg);
  }
}
并且給正確選項增加提示動畫
.question:has(input[data-correct="false"]:checked) {
  input[data-correct="true"] + label {
    animation: flash 2s infinite;
  }
}
@keyframes flash {
  0% {
    background-color: white;
  }
  25% {
    background-color: #5ed235;
  }
  50% {
    background-color: white;
  }
  75% {
    background-color: #5ed235;
  }
  100% {
    background-color: white;
  }
}
選擇正確選項時,標綠標題;
.question:has(input[data-correct="true"]:checked) {
  .questionHeader {
    box-shadow: inset 0 7px 0 0 var(--correct);
    background-color: var(--correct-bg);
  }
}
完整示例
總結
本文介紹了 :has() 選擇器的基本用法以及四個實際應用;
- 選擇父元素和前面的兄弟元素
:has() 選擇器中的 且 和 或- 選擇一個范圍內的元素
在 :has() 選擇器出來之前,使用 CSS 是無法直接選擇到父級元素和前面的兄弟元素的,但 :has() 選擇器的出現使這個變成了可能;
?轉自https://www.cnblogs.com/zsxblog/p/18093007
該文章在 2025/1/18 10:29:50 編輯過


 400 186 1886